


Bird's eye view of the property. We don't have much planned in the way of landscaping yet, but the garden that you see on the left side is already there, as is the shed. It's a very special shed that I'll talk about later in this post.

I just recently got Podium, a rendering plugin for Google Sketchup. I'm not very good with it yet and I really don't know why it cut off half of our fig tree, but I'll figure it out soon.

The main change you'll see here is that the front door will be moved to the actual front of the house. Some of the odd shaped windows on that side will probably be replaced with ones that can open and the south side of the house will get another window or two.

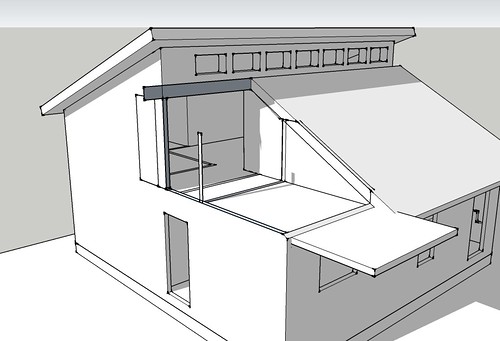
Rather than doing that expensive and unneeded addition, we're pouring a 12' x 21' patio outback and giving it a good, solid cover. It may rain a lot here, but it as long as you're dry, it's rarely too cold to cook and entertain outside. The upstairs deck will get rebuilt slightly bigger than it was.

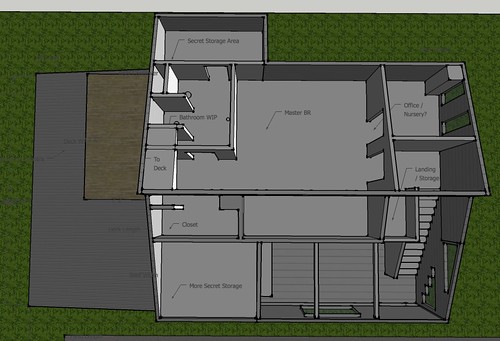
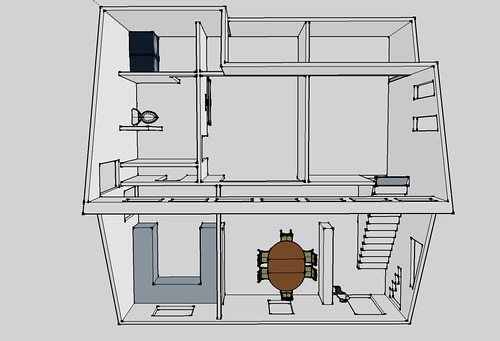
These labels are hard to read so I'll break down the floor plan:
First Story:
- Entry (top right). Moved to where the old gas furnace was. Storage area under stairs may be used for HVAC equipment.
- Living Room (bottom right). Stays the same size, but the wall between it and the kitchen is almost completely opened up and a bar is put in.
- Kitchen (bottom left). The main difference here is that we're stealing space from the bathroom to create a nook for the fridge and some additional storage.
- Bathroom (top left). Entry is now from the adjacent hallway which will be created. Still a full bath, but going to standing shower only because of decreased space.
- Laundry Room (above bathroom). This is where the solar panel equipment will be mounted to the walls and it may have to house some of the HVAC equipment if it won't go under the stairs.
- Bedroom (top middle). Slightly smaller because of the new hallway. If the bedroom and bathroom doors can go more toward the front of the hallway, the back of it will be converted into closet space for the bedroom. Otherwise, we'll have to cut into the entry way.
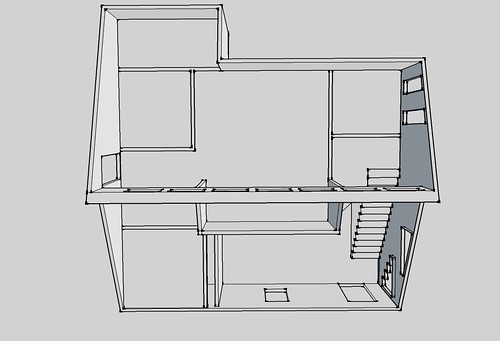
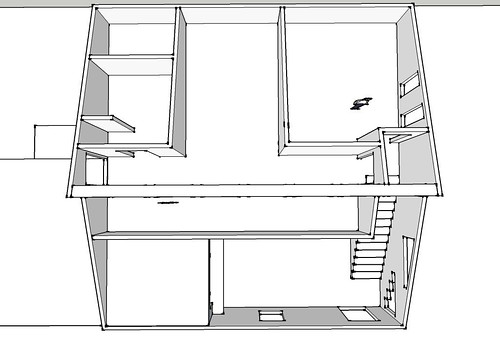
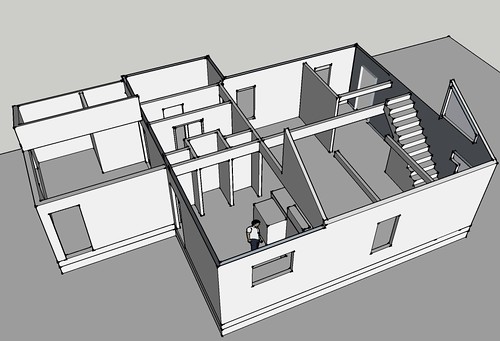
Second Story is pretty much unchanged for now. The only thing different about this model is that I squared off the triangle shaped piece of floor near the top of the stairs so it could be a closet.
I feel like most of the work I'm doing and these plans for structural changes are basically bringing the house to more of a blank slate. As we approach that mark, we'll be getting more into the selection of finish products, colors, etc. Some of those things have already been discussed, decided on, or even started. Each of them will have their own post, but here is a run down of what I know so far:
Garden - This is built and planted. Right now we have about 300 SF, but we may add more later. We picked up a big variety of organic plant starts at Portland Nursery and some excellent organic soil and top dressing from Dean Innovations.
Water Shed - This is the shed I mentioned early that sits in the far back corner of the property. I'll be going into great detail about this in another post, but it's essentially a self-contained rainwater harvesting building. The roof is designed to catch enough water to fill a 3,200 gallon tank during the rainy season, which is enough to water our garden during the rainy season. I'm involved with the creation, sales, and marketing of this product and this is our very first one. More info can be found at watersheddesigns.com.
Solar Array - The solar array pictured is a 2 KW Photovoltaic (provides electricity) set and a 2 KW Solar Thermal (heats water) set. I'll go into more detail later on about how the electric panels are tied into the power grid and how the hot water panels are tied into the heating system.
Roof - We aren't sure about the color, but I'll be putting on a standing seam metal roof before we can mount the solar panels.
Insulation - I haven't had a chance to study the roof / ceiling assembly yet, but I'll need to find a way to add more insulation. As for the walls, it looks like we'll be using 2" x 2" battens on the outside to increase the wall depth. We have some options at that point for insulation, but we'll probably leave the existing 4" alone and just add 2" of rigid foam board in between the battens. This, of course, will be done after ripping off the old siding, but we have yet to pick out a new siding material.
Kitchen - We really wanted to keep the look of the kitchen warm and classic. We're painting and reusing the lower cabinets and replacing the counters with Paper Stone. The upper cabinets will be replaced with open shelving. We're going to try to refinish the old wood floors if they're salvageable. Appliances will all be white. We have the fridge already and we just bought a vintage gas stove that looks sort of like this:
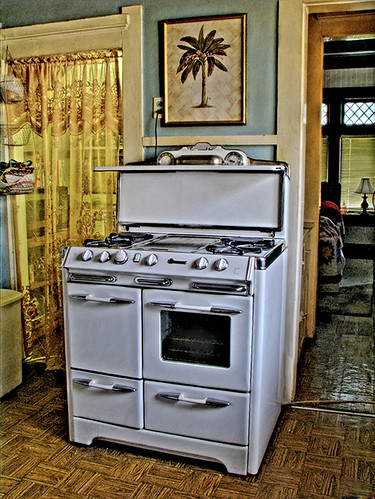
Annie is very excited about the stove and we're both really looking forward to having a functional kitchen again.
HVAC System - This is still up in the air, but what we want to put in is a forced air (ducted) system which is heated by a hydronic air handler. The hydronic air handler uses hot water running through a copper coil to heat the home's air, rather than a gas flame. Whatever system we use, a Heat Recover Ventilator will be added to the mix. These units recover 80% or more of the heat from the stale exhaust air and add it back into the fresh air entering the house. That takes a huge load off the furnace.
Finally, we decided not to pursue LEED certification on this project. I'm still following the steps that I would have for certification, but it would have made the project more complicated and expensive. There are some great resources available to verify that a house has been brought up to proper energy standards, including the Energy Performance Score from Earth Advantage. This is a very simple and effective approach to energy auditing and reporting. There will even be a place for the score on the MLS listing if we ever sell the house.






 Posts
Posts

