Showing posts with label remodel. Show all posts

Tuesday, November 9, 2010

The kitchen gets an extremely awesome makeover

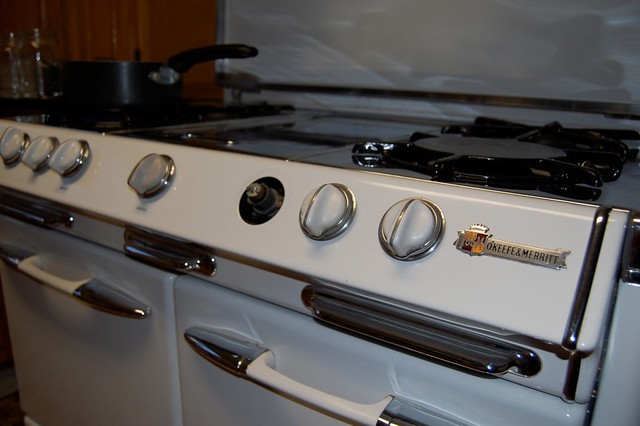
As you may remember, we picked up this amazing vintage range a few months ago:


Yes, it does in fact have a "Grillevator".

If you have two strong friends and a hand truck, I highly suggest picking one up. Modern ranges that will perform at this level are going to set you back $5,000 or more and are likely to make your kitchen look like an operating room. There are a few great looking reproductions out there (Elmira, AGA, etc), but they also start around $5,000.

Anyhow, we decided to model our kitchen around the stove. We weren't going for a strict historic restoration (our house has been reworked too many times in the last 100 years to for that to matter), but we wanted keep bright, mid-century feel. We decided on white cabinets, white appliance, black countertops, and a vibrant wall color. We still haven't picked out floors.

First, we had to gut most of the kitchen. I left some old drywall in place, mostly where the new cabinets would cover it up.
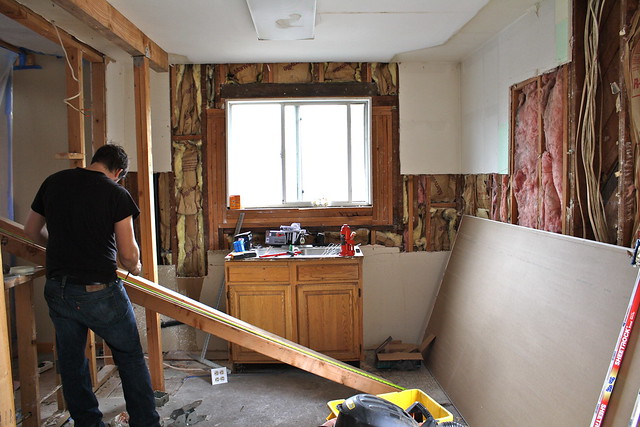


I had to put up a serious plastic barrier around the work zone to keep Annie from being exposed to the dust while she's pregnant. We tested negative for lead paint or asbestos, but it's still best practice not to expose her to some of the fine lung irritants that can be created during major deconstruction.



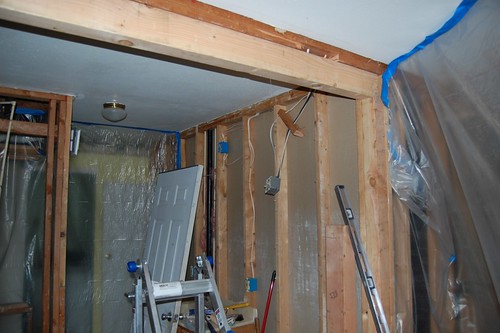
Before I could take down the wall between the living room and kitchen, I put up a temporary post and beam to support the load from the kitchen ceiling.
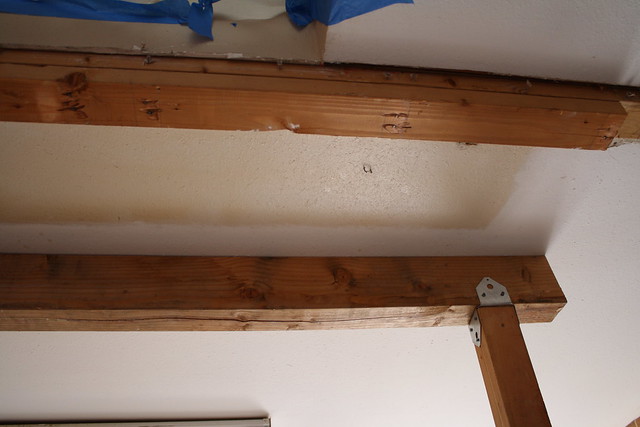


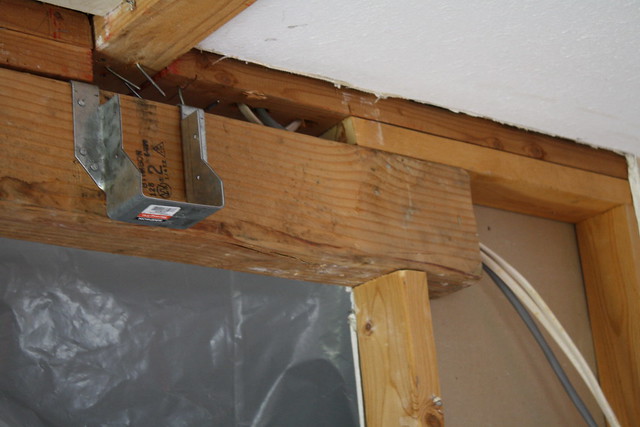
After taking down that wall, I put a header up and built a 42" bar in it's place. Since the header ended in the middle of a hallway, it had to be supported on that end by a Simpson top-mount hanger. I had to call all around town and eventually found one at Parr Lumber in Northeast. Everyone else was out of stock or didn't carry them.


I was then able to build the half wall for the bar between the kitchen and living room.
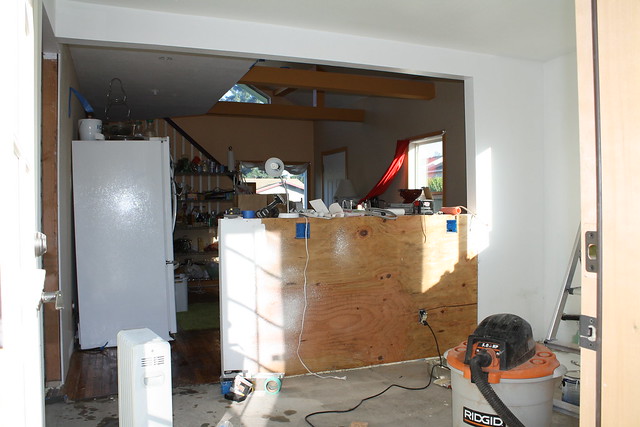


By moving the entrance to the bathroom, and borrowing a few feet from it, we were able to create a cove for a pantry and the refrigerator. This made the kitchen feel twice as big and we are still able to keep the full bath.


We had to postpone cabinet installation for a week because of various hang ups on plumbing, electrical, etc. Once that was done, we could finally start putting our kitchen stuff back and get the counters on.
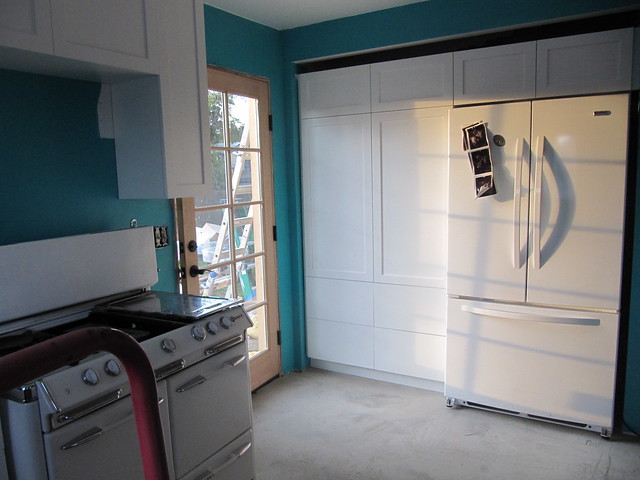


We hired Solid Craft to fab the Paperstone counters and they did an wonderful job. Installation was a breeze; Just a few passes with a random orbital and two coats of Osmo Top Oil, a natural, food safe finish.
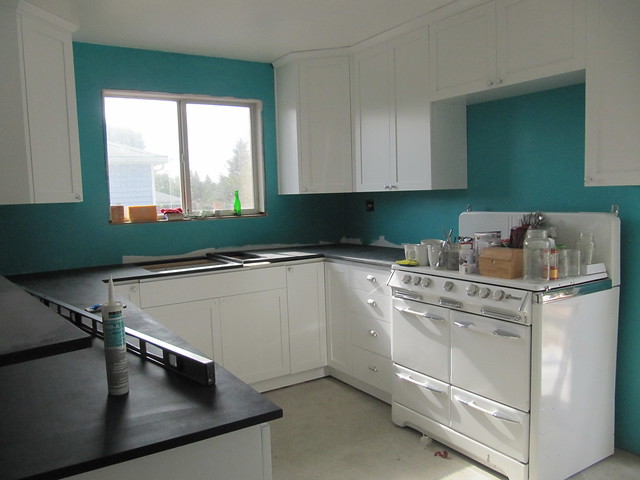


That's all for now. We'll be done soon and I'll post before and after shots.

Wednesday, June 30, 2010

Structural changes and a stud finder that actually works

We're finally back on track for the kitchen expansion after dealing with the rotten wood and Powder Post Beetle issues. Here's a quick review of the structural changes:
  • Open up the wall between the bathroom and kitchen (done). 
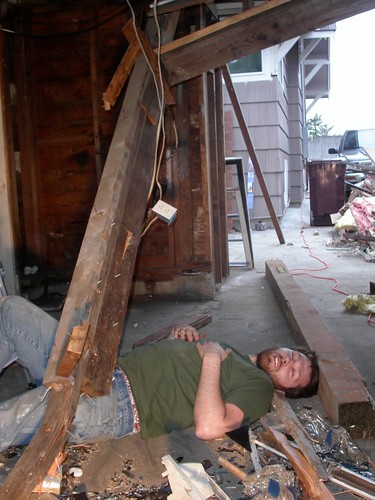
  • Reinforce the opening with a 4" x 6" header beam (done). 
  • Build the new bathroom wall about 30" back. This makes space for the fridge and a pantry (done). 
  • Cut out part of the bedroom to build a hallway and a closet. The hallway will have doors into the bedroom and bathroom. 
  • Open up the wall between the kitchen and living room (done). 
  • Reinforce the opening with a 4" x 6" header beam. 

This makes a nice open space between the kitchen and living room along with a bar facing the living room side. Moving the fridge really opens the kitchen up and moving the bathroom entry away from the kitchen is a huge plus. 


Off to the Rebuilding Center with some stuff to donate. I was careful not to damage things when I removed them so that they could be used again. 


What a great place. They have just about anything you could imagine and it's all priced very reasonably.  Lately it seems like prices of salvaged materials have gone through the roof and it's nice to have a place that doesn't operate like that. 


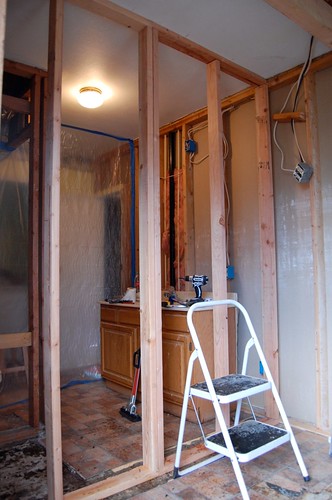
I built the wall in two sections so that it would go through the door. This also allowed me to carefully measure the opening it was going in and account for it being out of square. It was much easier to wiggle  the two pieces in separately. 


Bam!


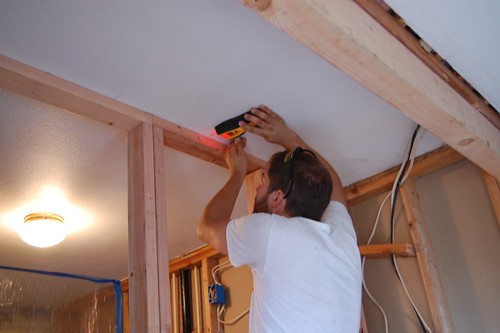
Ok... On to the stud finder. I've had a number of these things over the years. Some of them came free with another tool, some of them I purchased. None of them really worked. I've seen some that make claims to greatness online selling for $100 or more, which sounded like too much, but I was almost ready to try one. I decided to give the Zircon i320 OneStep a shot. It was $40 and I'm very happy with it. 


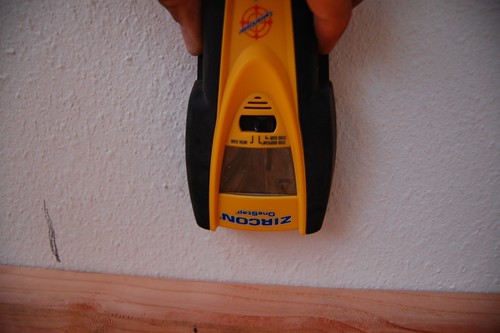
Scan started.


The bars on the screen show when you start across a stud edge. 


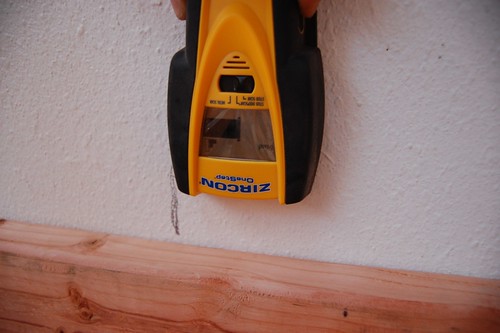
The bars and the red light indicate exact stud center. 


Reenactment.


It also has a deep scan mode for finding studs on the exterior, metal stud mode, and a warning if you scan over any wiring in the wall. 


*Insert stud finder joke here*

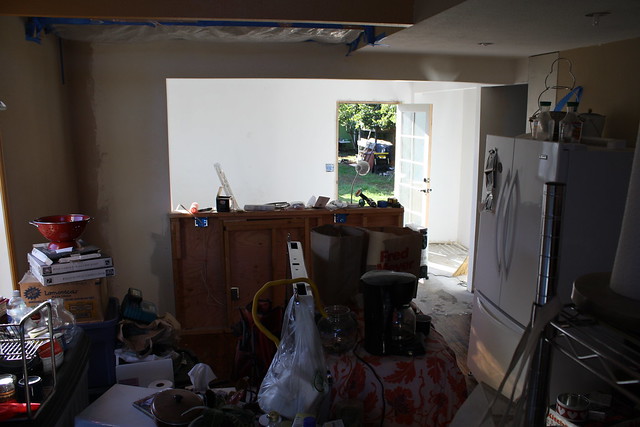
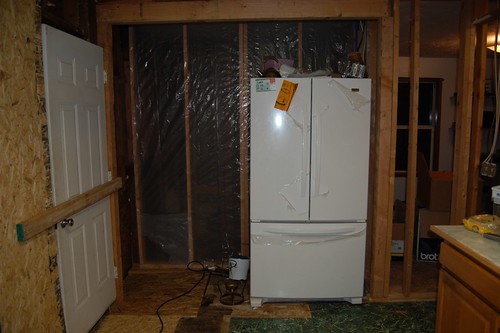
Back to the kitchen. I sheeted the new wall with 6 mil plastic and taped the edges so that I can work on the bathroom without the dust or odor getting into the kitchen. I moved the fridge to it's new home and the kitchen suddenly seemed twice as big. Now we're waiting for the stove to be delivered. 


Notice my state of the art locking mechanism on the door. I lock our shed up at night by parking in front of the doors. Some day we'll have nice things...


Future home of a big open space. 


Things are coming together nicely now after that last setback. Today, Chance and I are going to finish the concrete form for the back deck and fill it with the gravel base. Annie and I also decided that we're going to wait on the metal roof until next year, so we're going ahead with the solar panel installation as soon as the installer is ready. 

Saturday, June 26, 2010

The Bugs

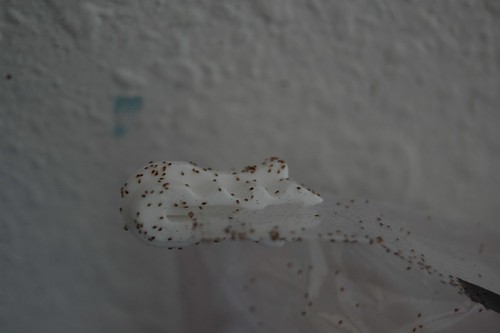
A few weeks ago, Annie noticed that a bird had built a nest in a vent on the side of our house. I'm not sure why someone put a vent on the side of the house, but it was now home to some baby birds. They sounded so cute and they made a perfect alarm clock every morning. That was all great until Annie walked into the little office room upstairs and found it crawling with hundreds of thousands of tiny little black bugs. 


It's hard to tell the size from this picture, but the thing they are crawling on is a small zipper on a plastic bag. 

We had to take all of our stuff from that room outside and every time we touched anything, they would start to swarm up our hands and arms. Annie got online and determined that they were Bird Mites, also known as Bird Lice. 

They were still coming in through the vent, so I went and removed the exterior vent cover and bird's nest while Annie cleaned the room out with water and vinegar. 


Fortunately, these things aren't hard to kill and they die or go away if they don't find a new host within a few days. We quarantined all of the items from that room outside for about a week just to be safe. 

The next surprise came when I started deconstructing the downstairs bathroom. 


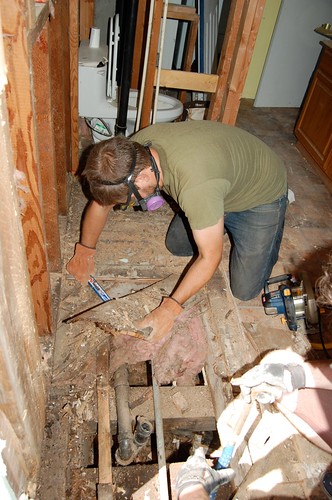
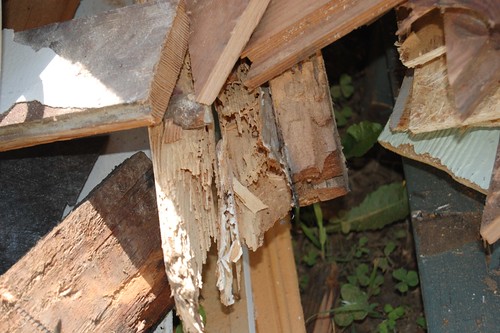
It looked like there had been a slow leak behind the shower for quite a few years. The floor was rotted out and a number of studs were completed rotted at the base and not even supporting the wall anymore. As I got to removing the damaged lumber, I noticed a fine dust coming out of some of the pieces. It was a lot like sawdust. I didn't think much of it at first, but as I took things apart more, it became more apparent that something was eating the wood. 


I called a pest control company out to look at it and it turned out to be Powder Post Beetles. They seem to have only eaten around the damp wood, which is common for them, but they have been known to eat entire houses. I'm glad we caught it when we did, but it's been a lot of work fixing the framing they destroyed. 


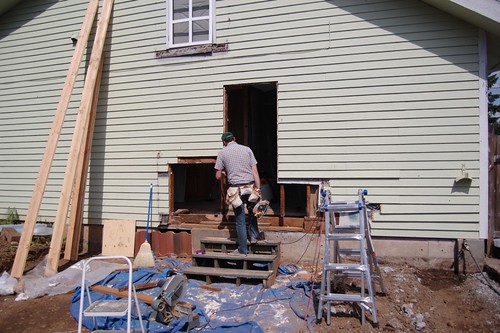
Chance looks through the giant hole we just cut in the house, trying to figure out the next step. 


Once the affected wood was all cut out, we started piecing the house back together. 


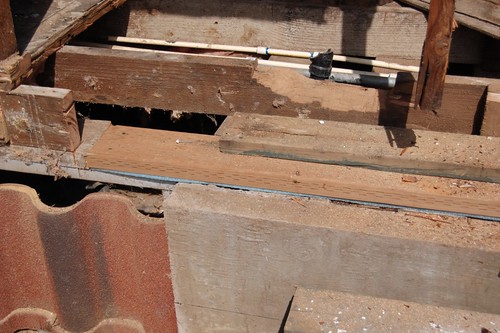
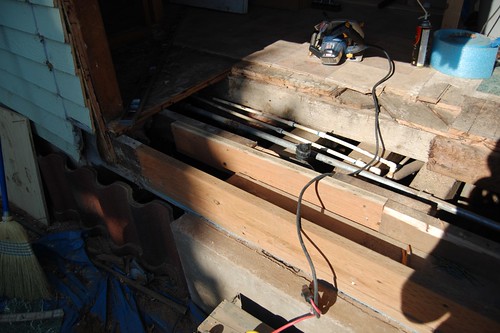
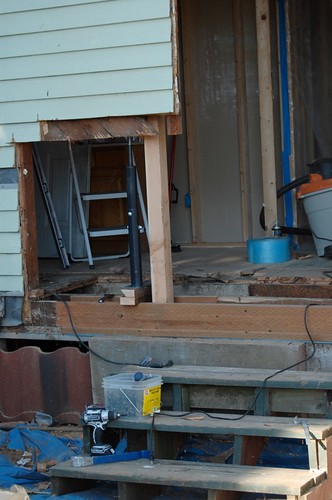
We had to cut the rotten / eaten subfloor back a few feet and replace some joist sections.

Finally, we were able to get back to doing what we had set out to do a few days earlier. We opened up the the wall between the kitchen and bathroom and put a support beam across it. The new wall will go back about three feet into the bathroom and the extra kitchen space will house the refrigerator and give us some extra storage. 


First post in!


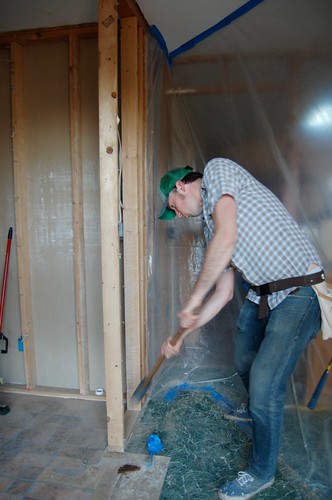
Deconstruction doesn't mean you don't still get to use a sledgehammer from time to time.


Finally! Now just two more beams left to do...

So the pests are all dealt with and remodeling is back on track. I'm just now finalizing the plans in Sketchup and I'll post them soon. 

Wednesday, June 9, 2010

The Initial Plans

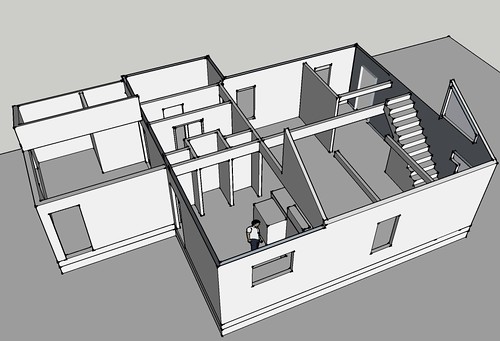
Thank God for Google Sketchup. I can't draw plans to save my life, but Annie would kill me if I started tearing down walls without knowing the final outcome. It took me about 2 weeks to really figure the program out, but once I did, it made this whole thing a lot easier.

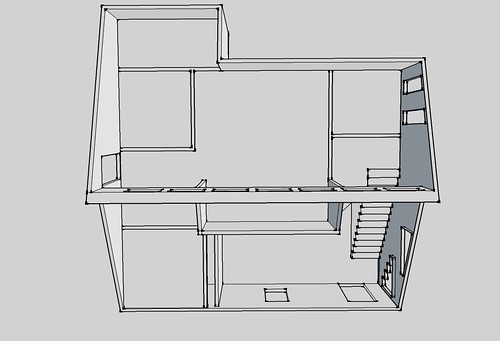
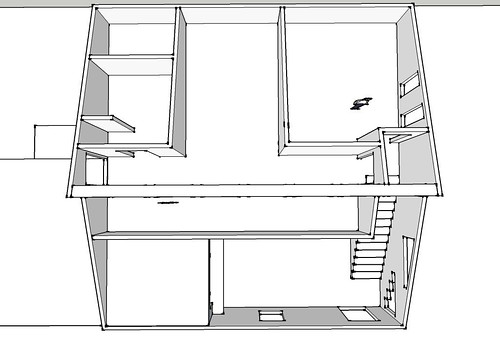
The first thing I did was model out exactly how the house was:

Floor 1 - 
Bottom right, entry and living room. 
Bottom left, kitchen
Top right, bizzare corner room with old gas furnace
Top middle, bedroom
Top left, bathroom with small laundry room above that


Floor 2 - 
Landing at top of stairs
Top right, office
Middle, bedroom
Left, bathroom
Top left, storage
Bottom left, attic/storage


Then we started playing around with different ideas:


The first major remodel plan was to square off the bottom floor and use the space to create a bedroom where the furnace room was and then open up the old bedroom as well as the kitchen wall to create a great room:


Early on, we had begun trying to figure out a way to move the bathroom door so it didn't open up into the kitchen. Our other house had the same problem and I really hated it. The first plan didn't include modification to the upstairs. Then it occurred to me that this could become a 3 bedroom house if we built up the corner addition to the 2nd story:


A few problems with that plan... It made the master bedroom very small and awkward and more importantly, we don't need 3 bedrooms. We bought this place because it was the perfect size for us. Again, we lost sight of that and started making big plans for an addition. This time on the other side of the house:


This plan leaves the upstairs in it's original form, but really opens up the downstairs. By knocking down the walls, we eliminate one bedroom and consequently have to add one on to the back of the house. Here is another view:


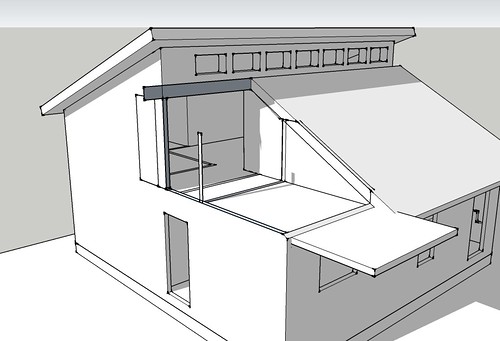
We got really excited about this design because it really created the outdoor living area we wanted as well. The roof of the addition would double as a second story deck and then we would extend it out in both directions for a big covered patio. The green area would be some sort of eco roof or rooftop garden. 

Most of this planning was done while we were in Texas. Once we got back to the house, we quickly realized once again that we didn't need to add to it. I think we were making the common mistake of wanting a house to be a certain way for resale value. The important thing is that the house is right for us. If and when we ever sell this place, the buyer can easily do what they want to it. 

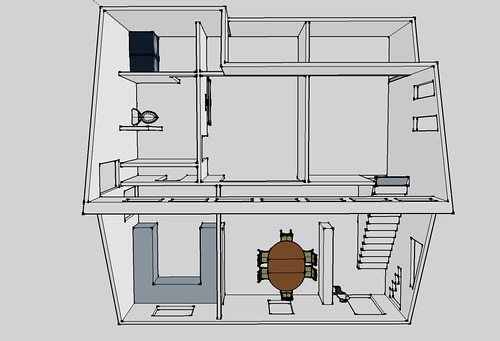
So now I'm working on the final plan. There will be no addition. There will be no formal dining room. There will be a small 2nd story deck and a good sized covered patio in the back. It will remain a 1200 SF, 2 bed, 2 bath house and we will put more of our remodeling budget toward energy upgrades. 

Tuesday, June 8, 2010

The House

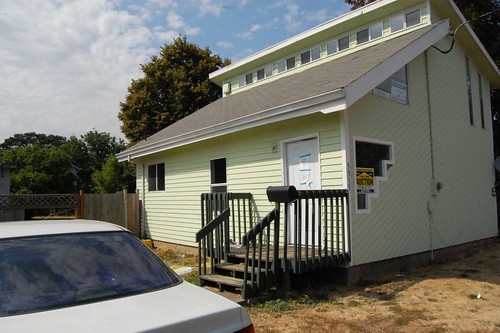
I was sitting in our house in Austin looking at properties for sale in Portland in August of 2009 when I came across the house:


We both got really excited and e-mailed our realtor asking him to go check it out for us. Before even hearing back from him, there were several reasons that this place seemed like a perfect fit:
  • 8,500 square foot lot with R5a zoning. Big, private back yard and zoned for an accessory dwelling if we wanted to build a small rental unit on the property. 
  • Solar orientation. The majority of the roof is south facing, giving adequate room for an array of photovoltaic (electric) and solar thermal (hot water) panels. Also, the roof overhangs looked perfectly designed to shade the south facing windows in the summer and allow the sun to heat the house in the winter. 
  • It was priced at $117,000. Our goal was to keep the purchase and remodel under $200,000. 
  • We could tell from the pictures that it was in need of some major work. It kind of defeats the purpose of sustainable building to tear apart a perfectly good house. 
  • It's walking distance to the Max Green Line, Portland's newest light rail transit line. 
Our realtor reported back to us about it and we decided to put in an offer. He determined that we would need to offer about $5,000 more than the listing price to secure the house. We did and the listing agent thought we were going to get it. Since it was bank owned at the time, the bank decided to accept a cash offer, even though it was less than ours. 

A few weeks later, the listing agent called ours and asked if we would like to resubmit our offer. The previous deal had fallen through and the bank was ready to accept ours. We resubmitted and waited to hear back. The listing agent said that she was waiting to hear from the bank and had no way to speed up their decision. 

We already had a trip planned to Portland at the end of August. We were hoping to have closed on the house by that time, but by then we were just hoping to hear back that we could buy it. When we got to Portland, we decided to drive by and see the place. It was covered in Auction signs. The bank had decided to take it to public auction without even telling the listing agent. 


On September 13th, we logged on to the auction site. There was a live auction taking place as well, but we were able to listen to it and place bids through the web site. The plugin for the site was very archaic and only made for PC so I had to run it through a Windows virtual machine on my Mac. This didn't help matters. We watched some other properties go as we tested the system out. It was barely working, but this was our last shot. When the house finally came up for auction, we watched it go up for a while before we started bidding. It was really stressful trying to time submitting a bit before the auctioneer ends it while keeping in mind the delay of bidding online. 

We finally put our last bid in at $131,250 and decided to stop. This was already a few thousand higher than we had decided to go and almost ten thousand higher than the bank had been willing to sell the house for a few weeks earlier. The page refreshed as we heard the auctioneer close it out and it said we had been outbid and that the property was sold to someone else. As auctions tend to get emotional, this was a huge let down, but it was the third time we didn't get the place so we were sort of used to it by then. 

All of the sudden, the page refreshed again and it said that we had won the auction. I'm not sure what happened, but the other bid disappeared and that was that. 


The Move

In April of 2009, our plans got sidetracked. We made a snap decision to make a temporary move to Austin, TX. I had been working as a rep for a few green building product manufacturers and selling some remodeling jobs for a contractor, but neither job was going very well. My old boss called me and needed extra salespeople because of a recent hail storm.

Annie and I talked it over and decided to go work out there for a short while. The idea was 2 - 3 months, but up to 6 if we needed to. Over a year later, we finally just moved home from Texas. I'm still working for the company, but my plan is to fly out for a few weeks at a time during the busy season (or seasons... Most of our work is storm restoration and you just never know when the weather is gonna throw a few hundred curveballs at your roof).

So for the time being, my job is to sell restoration projects half way across the country and remodel our house in between trips. I hope to use what I've learned (and am still learning) about sustainable construction to influence my company. One of my co-workers and I had been working on marketing residential energy upgrades in the Austin area and bidding on city mandated energy auditing and upgrading of multi-family complexes, but I haven't been able to stay involved lately since the company has me traveling to different offices in Texas and Oklahoma.

On a side note, I saw a really cool development in Austin. It's a community of fairly small homes, designed for net zero energy use. Half of the homes are available at market rate (starting at $190k) and the other half are available at a discount to qualified buyers as affordable housing. You can see them online at solaustin.com or follow their blog at solaustin.com/blog/.

The idea

In July of 2008, Annie and I began looking for a fixer home to buy and remodel. Having just finished a self-study of the LEED for Homes reference guide, I was feeling ready to take on a green rehab project.


Fortunately, our finances didn't allow us to buy another home at the time. Looking back, I feel that it would have been a disaster, or an expensive learning process at best. It may have gone something like this:


We got married later that year, moved into a much smaller rental house nearby, and rented our house to someone that could make use of the whole place.

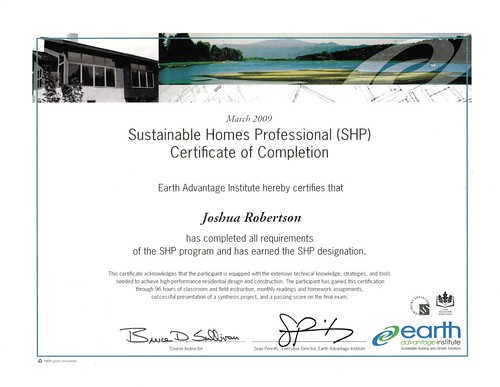
Shortly after getting married, I enrolled in the Sustainable Homes Professional course with the Earth Advantage Institute. This class provided an in-depth education on sustainable building methods and materials. In addition to class room training, we toured some ground breaking building projects; Everything from a LEED Platinum, Net Zero home, to a development of modest, affordable homes built to be energy efficient and affordable.

After I graduated from the course, Annie and I had a much more clear idea on what we wanted to do and how to get it done. The idea was to find a house in need of either interior or exterior wall removal and do a LEED Silver or Gold remodel.